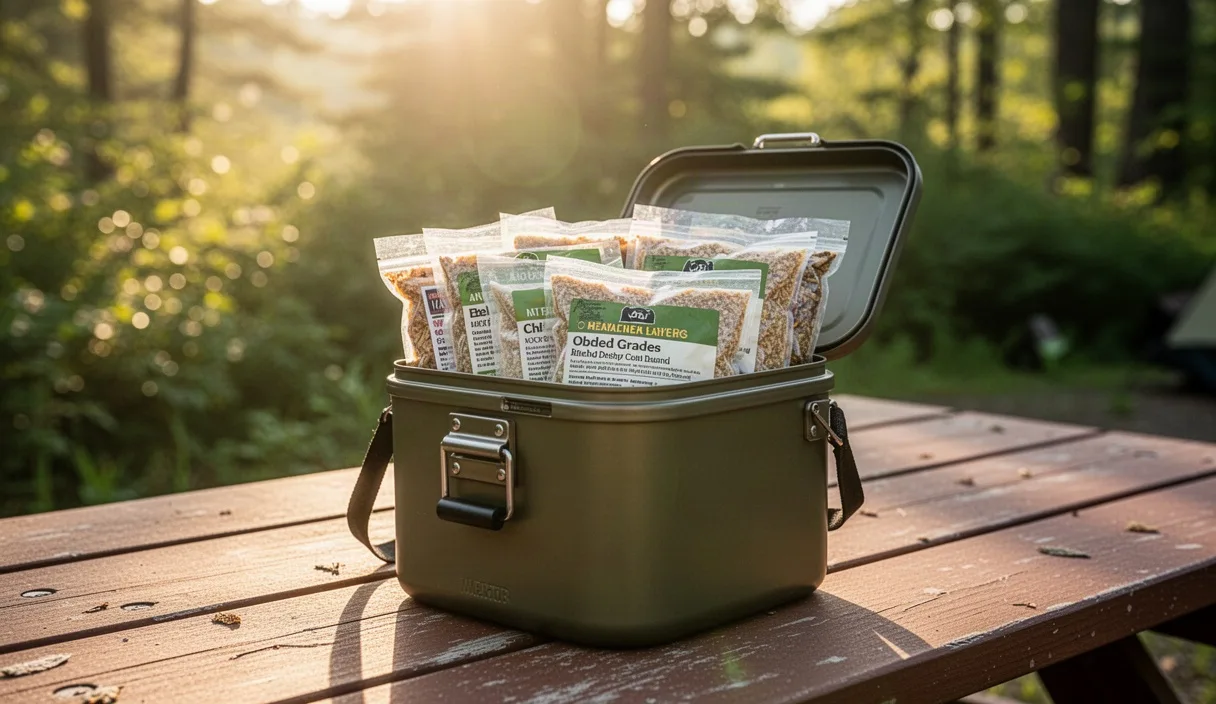

Packing two days of food into a hard-sided bear canister sounds simple until the lid will not close. Most weekend hikers overestimate how much space freeze-dried meals need and underestimate how much room jars, wrappers, and snack bags actually take up. The result is often a canister packed so tightly that opening it at camp becomes its own small ordeal, or worse, food left outside because it would not fit.
A workable meal plan for a two-day trip is less about cutting calories and more about choosing the right foods, repackaging them properly, and loading the canister with a method rather than a shove. The sections below walk through that process from calorie math to the second night's storage, using a standard mid-size canister as the working example.
Estimating Caloric Needs for a Two-Day Trip
A hiker covering 8 to 12 miles a day with a loaded pack and moderate elevation gain typically burns between 3,000 and 4,500 calories daily, depending on body size, pack weight, and terrain. For a two-day trip, that puts total energy expenditure somewhere between 6,000 and 9,000 calories, though most weekend hikers do not need to replace every calorie burned since the trip is short.
A practical target is 2,700 to 3,200 calories of food per day, which covers most of the deficit without requiring an unreasonable amount of food volume. Over two days, that comes to roughly 5,600 calories total for one person, a figure that fits comfortably inside a mid-size canister if the food chosen is calorie-dense.
The number that matters more than total calories is calorie density, measured in calories per ounce of packed weight. Foods averaging at least 120 calories per ounce keep the overall load light; foods below 80 calories per ounce, such as fresh fruit or canned goods, add bulk and weight without adding much energy. A five-pound bag of food averaging 120 calories per ounce yields about 9,600 calories, more than enough for a weekend and with room to spare in most canisters.
Choosing Meals That Pack Efficiently
Freeze-dried entrees from brands such as Mountain House or Peak Refuel typically provide 500 to 800 calories per pouch and occupy about 20 to 30 cubic inches once the package is flattened. These are a reasonable anchor for dinners because they rehydrate with boiling water and leave little to clean.
Breakfasts built around instant oatmeal, granola with powdered milk, or dense breakfast bars pack smaller than eggs or pancake mix. Tortillas hold up better than bread over a weekend and take up less volume once the loaf's air pockets are removed from the equation. Hard cheeses like cheddar or gouda keep well without refrigeration for three to four days and provide close to 110 calories per ounce.
| Food Item | Calories | Weight (oz) | Approx. Volume (cu in) |
|---|---|---|---|
| Freeze-dried dinner pouch | 600 | 4.5 | 25 |
| Peanut butter (2 oz, repackaged) | 290 | 2 | 6 |
| Hard cheese, 3 oz block | 330 | 3 | 10 |
| Tortilla, 1 large | 140 | 1.5 | 4 |
| Trail mix, 1/2 cup | 350 | 3 | 12 |
Olive oil and nut butters deserve a place on the list because they carry roughly 250 calories per ounce, among the highest densities of any common trail food. A small squeeze bottle added to a freeze-dried meal or oatmeal can raise the calorie count without adding meaningful weight or volume.
Repackaging Food to Save Space and Weight
Original packaging is designed for a grocery shelf, not a canister, and it wastes both space and weight. A full box of macaroni and cheese occupies close to 40 cubic inches; the same contents transferred into a quart freezer bag with the air pressed out take up closer to 15 cubic inches.
Cardboard boxes, plastic tubs, and glass jars should be left at home. Oatmeal packets can be removed from their box and combined into a single labeled bag. Liquids such as olive oil or hot sauce travel better in small flip-top bottles of 1 to 2 ounces rather than their retail containers, which are usually larger than needed for a weekend.
Pre-measuring portions before the trip avoids carrying extra bags or containers that will only be discarded at camp. A reasonable approach is to portion each meal into its own labeled bag at home, then group all of one day's food into a single larger bag for quick identification once on the trail.
Loading Order Inside a Standard Bear Canister
A common mid-size canister, such as the BearVault BV500, measures about 8.7 inches in diameter and 12.7 inches tall, offering roughly 700 cubic inches of interior space. A smaller BV450 offers about 440 cubic inches, which is often sufficient for a single hiker on a two-day trip.
Loading works best in three general layers. Heavy, dense items such as a cheese block or a jar-shaped bag of peanut butter go at the bottom, near the lid end if the canister will be opened while standing upright, since this keeps the center of gravity low and stable. Bagged entrees and mid-weight items fill the middle, arranged to eliminate large air pockets. Fragile items like crackers or bars go in the center, cushioned on all sides so they do not crush against the canister wall.
Snack bags and loose items such as trail mix are useful for filling small gaps between larger packages, since they conform to whatever space remains. The lid should close without forcing; if it requires significant pressure, some repackaging or portion reduction is needed rather than jamming the contents further.
Managing Food Odors Beyond the Canister Itself
Everything with a scent needs to go inside the canister at night, not just food. Toothpaste, sunscreen, lip balm, and any trash from the day's meals belong in the same container as the food itself.
Cooking should take place at least 200 feet, or roughly 70 adult steps, away from the sleeping area, and downwind of the tent site when wind direction is apparent. Clothing worn while cooking retains food odor and is best stored with the canister rather than inside the tent.
Dishwashing water and food particles should be strained and packed out or dispersed well away from camp and water sources, following local land manager guidance where it exists. A ranger station or backcountry permit office can usually confirm specific regional requirements, and checking with them before the trip is worthwhile in areas with active bear activity.
Sample Two-Day Menu with Weights and Volumes
| Meal | Item | Weight (oz) | Calories |
|---|---|---|---|
| Day 1 Breakfast | Oatmeal packet + peanut butter | 3.5 | 480 |
| Day 1 Lunch | Tortillas, cheese, jerky | 7 | 820 |
| Day 1 Dinner | Freeze-dried entree + olive oil | 5 | 700 |
| Day 1 Snacks | Trail mix, one bar | 4 | 560 |
| Day 2 Breakfast | Granola with powdered milk | 3 | 420 |
| Day 2 Lunch | Tortillas, peanut butter, dried fruit | 6 | 760 |
| Day 2 Dinner | Freeze-dried entree | 4.5 | 600 |
| Day 2 Snacks | Bar, small chocolate portion | 3 | 450 |
This menu totals approximately 36 ounces of food and 4,790 calories for two days, well within the calorie target described earlier and comfortably under the 440 cubic inch capacity of a smaller canister once everything is repackaged.
Storing the Canister Properly Overnight
The canister should be placed at least 100 feet, or about 40 adult paces, from the tent, and never propped against a tree or rock where an animal could gain leverage against it. Flat, level ground is preferable so the canister cannot roll toward a slope, a stream, or a cliff edge if disturbed during the night.
Tying the canister to a tree or stake is not recommended and, in most designs, defeats the purpose of the container, since a bear may use the tether as leverage. Simply setting it on the ground away from camp is the standard practice recommended by most land management agencies.
Local regulations vary by park and forest, and some areas require canisters to be placed a specific distance from water sources as well as from camp. When in doubt, a quick check with a ranger station before the trip resolves any uncertainty about site-specific rules.
Common Mistakes
- Packing bulky original packaging instead of repackaging into flat, low-volume bags.
- Leaving scented non-food items such as sunscreen or toothpaste outside the canister.
- Choosing low-density foods that add weight without enough calories to justify the space.
- Forcing the lid closed on an overpacked canister rather than adjusting portions beforehand.
- Placing the canister too close to the tent or on sloped ground where it can roll.
Next Steps
Before the next trip, weigh and measure a trial menu at home using a kitchen scale and the empty canister itself. This reveals whether the planned food actually fits before it becomes a problem on the trail. Repackaging in advance, choosing a handful of calorie-dense staples, and loading with the layering method described above should make a two-day supply fit into a standard canister with room left for the return trip's leftovers.