
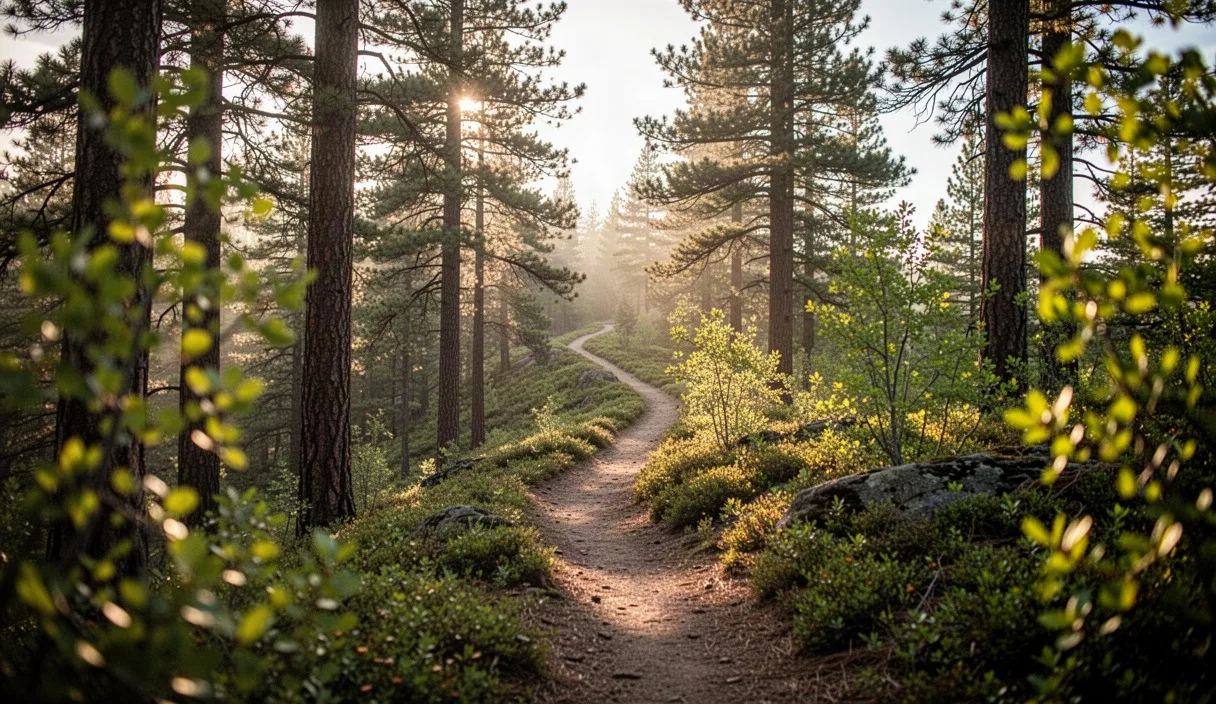

Selecting a weekend loop is rarely as simple as picking a number of miles from a guidebook and matching it to the hours available. Two loops of identical length can differ enormously in the time they demand, the effort they require, and the risk they carry if the light fails before the trailhead is reached. A walker who plans by distance alone is, in effect, planning by only one of the three variables that actually govern a day on the trail.
This article sets out a method for weighing distance, elevation, and daylight together, so that a chosen loop fits the day rather than the other way around. The approach draws on ordinary hiking practice rather than any single authority, and readers with health conditions affecting endurance or balance should consult a physician before undertaking routes with significant elevation gain.
Why Distance Alone Does Not Predict Trip Length
A nine-mile loop on a converted rail trail and a nine-mile loop through a rocky ridge system are not comparable outings, even though a map might list both under the same mileage heading. The rail trail may be walked in under three hours by most parties, while the ridge loop, with its uneven footing and repeated short climbs, could take five hours or more for the same group.
The reason is that distance measures only the horizontal component of travel. It says nothing about surface quality, exposure to wind, the frequency of stream crossings, or the number of times a hiker must stop to route-find. A loop described as "moderate" in one guidebook and "strenuous" in another is often the same trail, judged against different assumptions about pace.
A more reliable habit is to treat the stated distance as a starting figure only, then adjust it against terrain notes, recent trip reports, and the elevation profile before committing to a schedule. Guidebooks that include a topographic profile, even a rough one, are generally more useful than those offering distance and difficulty rating alone.
Estimating Pace on Flat, Rolling, and Steep Terrain
Most hikers can sustain a steady pace of two and a half to three miles per hour on flat, well-maintained trail with a light pack. That pace drops on rolling terrain with modest ups and downs, and it drops further still on steep or technical ground, where one and a half miles per hour, or even less, is common.
The following approximate figures are useful for early planning, though individual fitness, pack weight, and group size will shift them in either direction:
- Flat, smooth trail: 2.5 to 3.0 miles per hour
- Rolling terrain with modest grades: 1.8 to 2.4 miles per hour
- Steep or technical terrain: 1.0 to 1.5 miles per hour
A party planning a loop that mixes all three terrain types should break the route into segments and estimate each separately, rather than applying a single average pace to the whole distance. A six-mile loop with two miles of flat approach, three miles of rolling ridge, and one mile of steep descent will take noticeably longer than a flat six-mile walk, even though the total distance is identical.
Accounting for Elevation Gain in Time Budgets
Elevation gain is often the single largest hidden cost in a day's schedule. A widely used rule of thumb, sometimes attributed to early mountaineering guides, adds roughly one extra hour of walking time for every 1,000 feet of ascent, on top of the time calculated from distance alone.
Applying this rule to a concrete example: a seven-mile loop with 1,800 feet of total elevation gain, walked at an average pace of two miles per hour on the distance component, would require about three and a half hours for the distance and a further one hour and fifty minutes for the climbing, bringing the estimate to roughly five hours and twenty minutes before any rest stops are added.
Descents deserve separate attention as well. Steep descents can be slower than expected for hikers carrying weight or managing knee discomfort, and loose or wet surfaces on the way down often demand more caution than the same grade on the way up. Planners should not assume that time saved going downhill fully offsets time spent climbing.
| Total elevation gain | Approximate added time |
|---|---|
| 500 feet | 30 minutes |
| 1,000 feet | 60 minutes |
| 2,000 feet | 2 hours |
| 3,500 feet | 3 hours 30 minutes |
Checking Sunrise and Sunset for the Chosen Date
Daylight is the least forgiving of the three variables, because it cannot be extended through effort or willpower. A hiker can walk faster to save an hour, but no amount of determination adds an hour to a sunset that arrives at 5:42 in the afternoon during late autumn.
Before finalizing a loop, the planner should look up the specific sunrise and sunset times for the exact date and location of the outing, not a rough seasonal estimate. Sunset can vary by twenty minutes or more across a single state depending on longitude, and it shifts by roughly one to two minutes per day through much of spring and autumn.
It is also worth noting the difference between sunset and the end of usable light. Civil twilight, the period after sunset during which there is still enough natural light to move safely without a headlamp, typically lasts twenty to thirty minutes depending on latitude and season. Treating sunset itself, rather than the end of twilight, as the hard deadline builds in a natural safety margin.
Building in Margin for Breaks and Photography Stops
Moving-time estimates calculated from pace and elevation gain describe only the time spent walking. They do not account for the minutes lost to adjusting boot laces, filtering water, checking a map, or simply standing at an overlook longer than intended.
A reasonable practice is to add fifteen minutes of break time for every two hours of estimated walking, plus a separate allowance for any stop expected to exceed the ordinary pause, such as a lunch break or a deliberate photography stop at a summit or waterfall. A group that plans to spend thirty minutes at a scenic overlook should add that thirty minutes as a distinct line item rather than folding it into a general margin.
For a five-hour walking estimate, this might mean adding thirty-eight minutes of routine break time and a further thirty minutes for a planned overlook stop, bringing the total day to just over six hours before any unplanned delay is considered. Parties that skip this step frequently find themselves arriving at the trailhead well after their intended finish time, not because the walking estimate was wrong, but because it was never meant to cover the whole day.
Setting a Firm Turnaround Time Before Departure
A turnaround time is a specific clock time, decided before the hike begins, by which the party commits to reversing direction regardless of how much of the planned loop remains ahead. It differs from a distance-based decision because it accounts for whatever pace the day has actually produced, rather than the pace originally assumed.
To set one, the planner works backward from the required arrival time at the trailhead, subtracting the estimated time needed to return by the shortest reasonable route from the loop's farthest point. For a loop with sunset at 6:15 and a desired thirty-minute buffer before dark, combined with an estimated two hours to return from the far point, the turnaround time would be set at 3:45, not at sunset itself.
Deciding this figure at the trailhead, and writing it down or setting a phone alarm, removes the temptation to negotiate with oneself midway through the loop, when enthusiasm for reaching a summit or a viewpoint can override sound judgment about the remaining daylight.
Adjusting the Plan When Conditions Change on the Trail
Even a carefully built schedule can be overtaken by conditions that were not fully known in advance. A trail reported as clear in a spring update may still hold snow at higher elevations well into early summer, and a stream crossing that appeared minor on a map may run high after recent rain, adding time and requiring a careful assessment of safety before proceeding.
When actual pace falls noticeably behind the planned estimate, perhaps by more than twenty minutes at the first major checkpoint, the appropriate response is usually to shorten the loop rather than to increase speed and accept a later finish. Cutting a loop short by using a known connector trail or retracing a portion of the route is generally a more conservative choice than pressing on toward an unfamiliar section of trail as light begins to fade.
Weather changes deserve the same treatment as pace changes. A sudden drop in temperature, an approaching storm, or a fog bank rolling in over a ridge are all reasons to revisit the day's plan, and a party should not treat the original schedule as fixed once conditions have shifted meaningfully from what was expected at the trailhead.
Common Mistakes
Several errors recur often enough to be worth naming directly:
- Using a single average pace for a route that mixes flat, rolling, and steep terrain, rather than estimating each segment separately.
- Treating sunset time as the deadline for finishing the hike, rather than building in a buffer for the final approach to the trailhead in fading light.
- Omitting elevation gain from the time budget entirely, particularly on loops that appear short on a map but climb steadily throughout.
- Deciding on a turnaround time only after the hike is already underway, when fatigue and summit interest can distort judgment.
- Failing to revise the plan when trail conditions, weather, or actual pace differ from what was assumed before departure.
Next Steps for Planning a Weekend Loop
Before the next weekend outing, a hiker might gather the loop's total distance, its elevation profile, and the sunrise and sunset times for the specific date, then work through the pace and elevation calculations described above to produce a written time estimate for the day. Adding margin for breaks, setting a firm turnaround time, and keeping a note of the plan on paper or on a phone, rather than relying on memory, will make the eventual decision to continue or turn back far easier to make in the moment.
Readers new to a particular trail system are also well served by checking recent trip reports or a local ranger station for current conditions, since guidebook figures for distance and elevation are useful starting points but are not always updated to reflect trail rerouting, storm damage, or seasonal water levels.